
How to add an appointment to the Calendar
Follow these steps to schedule an appointment in Healthbridge Nova efficiently.
Step 1: Open the Calendar
- Log in to Healthbridge Nova.
- Click on the ‘Calendar’ tab from the main dashboard.
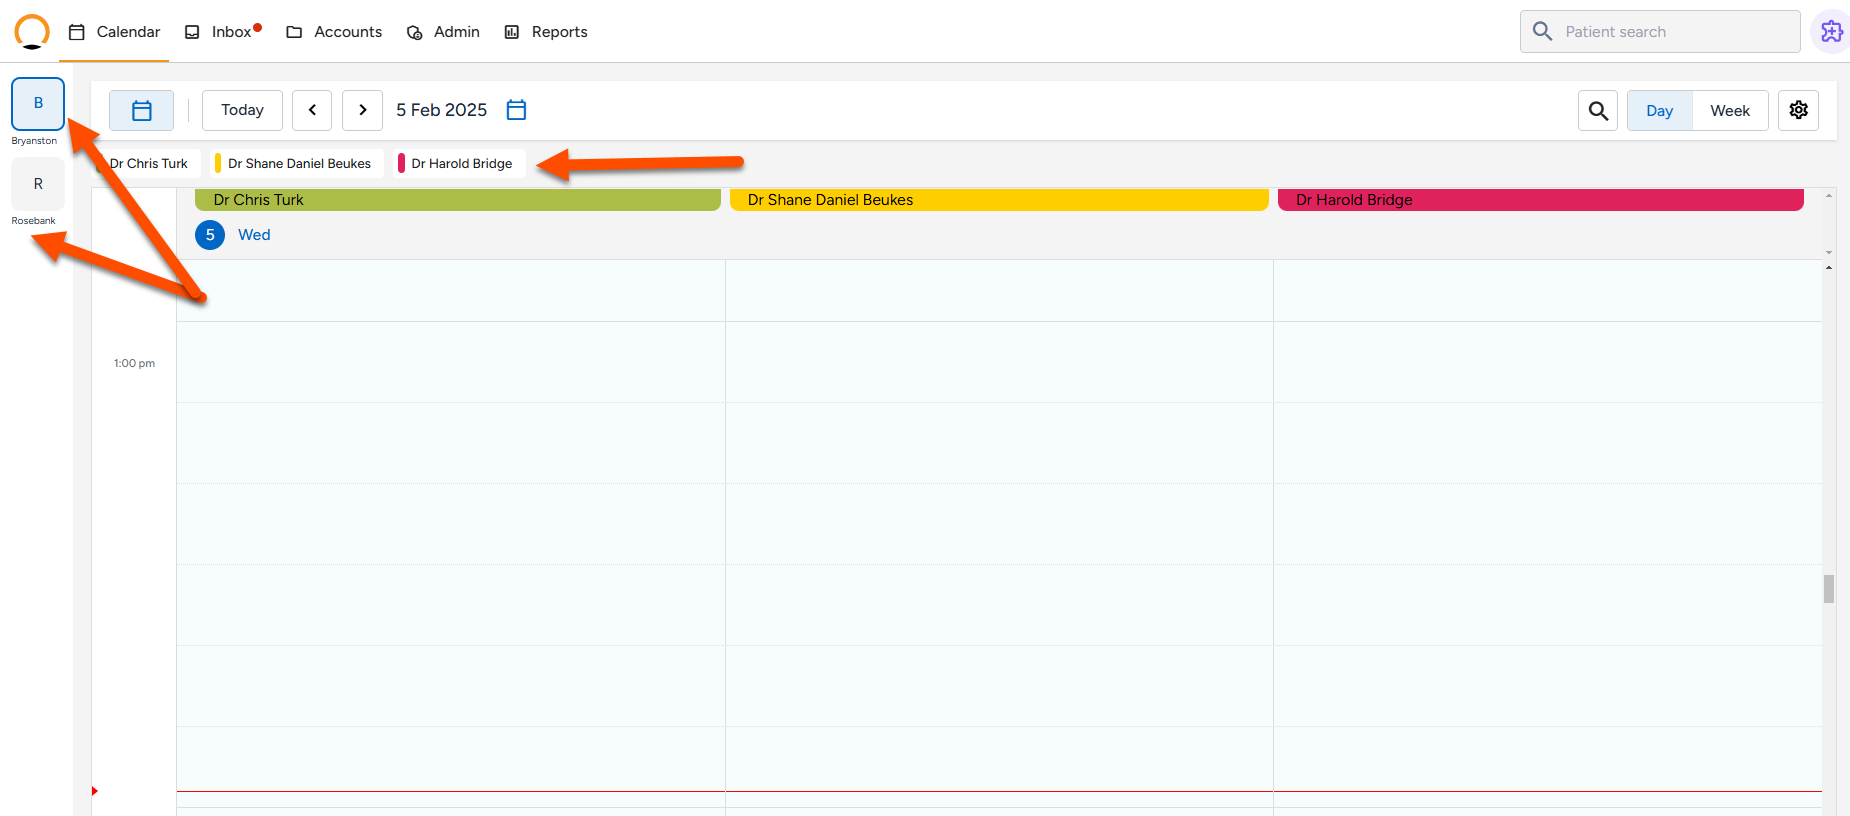
Step 2: Select a Provider and Branch
- If you manage a multi-branch practice:
- Choose the Branch from the left-hand panel.
- Select the Provider from the menu above the calendar
Step 3: Choose a Time Slot
- Locate the desired date and time on the calendar.
- Click on an empty time slot where you want to schedule the appointment.
Step 4: Search for the Patient
- In the appointment window, search for the patient by entering:
- Name
- Surname
- Cell Number
- Date of Birth
- Select the correct patient from the list. Their details will automatically populate in the appointment fields.
- If the patient is new, enter their details manually or navigate to the ‘Accounts’ tab to create a new patient profile.
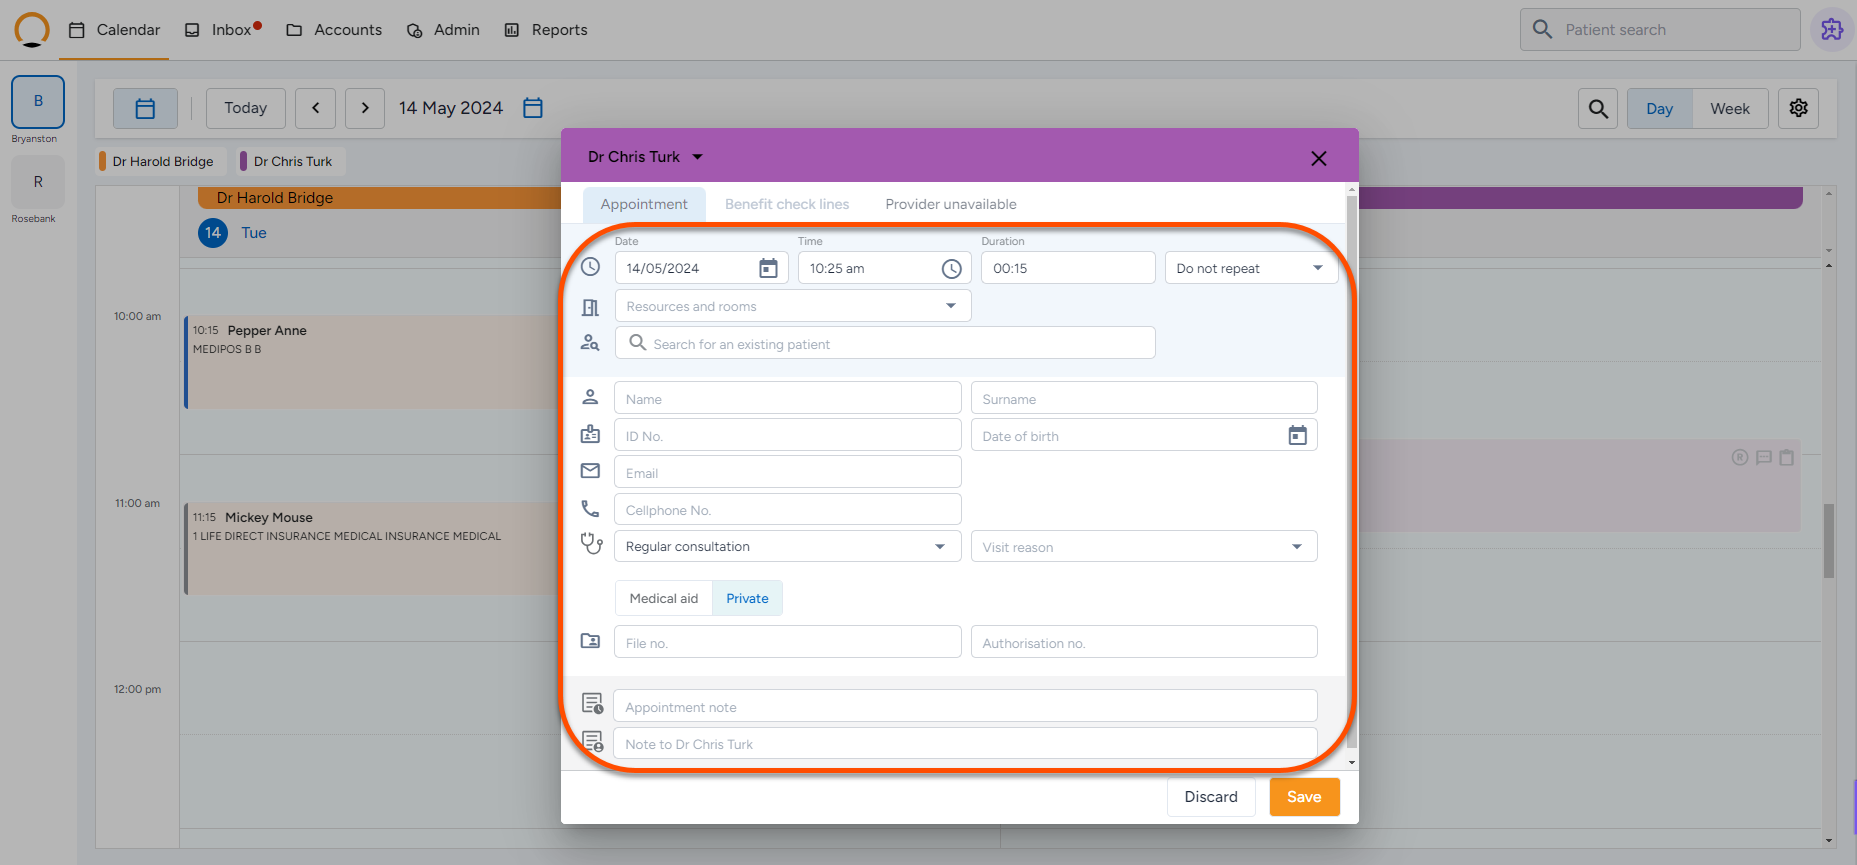
Step 5: Enter Appointment Details
- Complete the required fields:
- Appointment Type or Reason for Visit.
- Duration of the appointment.
- Authorization Number (if required by the patient’s medical aid).
- Room or Resource (for specialized procedures like ECGs).
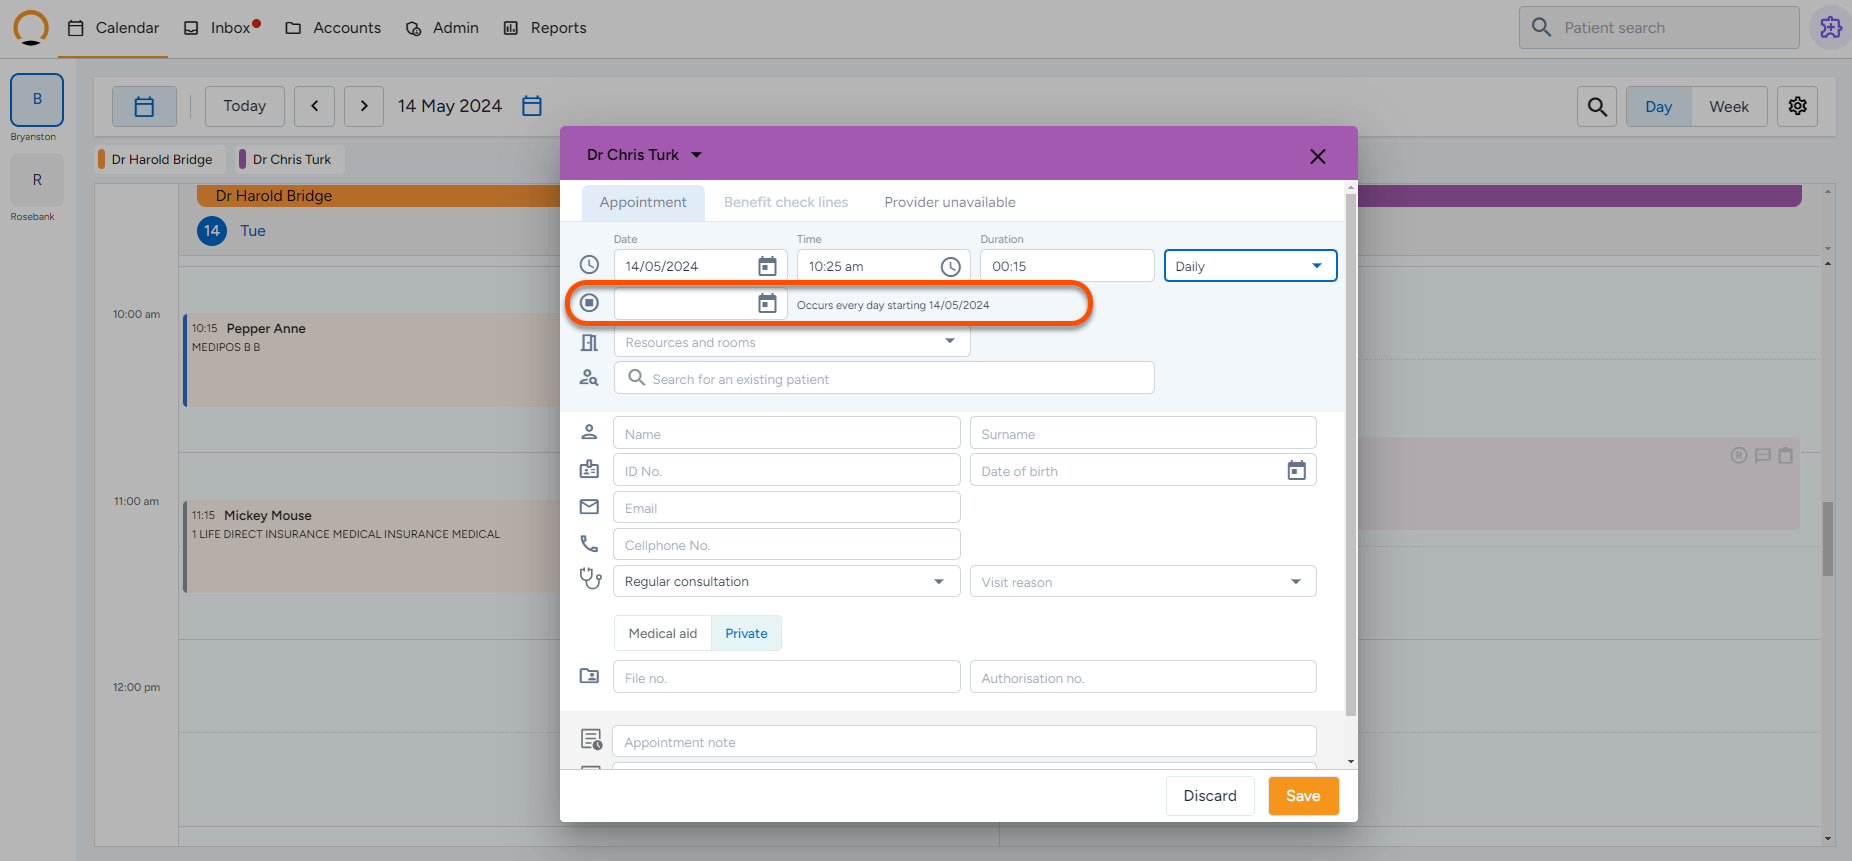
Step 6: Set a Recurring Appointment (Optional)
- If the patient requires a recurring appointment (e.g., weekly, monthly):
- Click ‘Repeat’ and choose the frequency.
- Set the recurrence interval and end date.
Step 7: Perform a Benefit Check (If Applicable)
- After saving the appointment, the system will automatically trigger a Benefit Check to verify the patient’s medical aid coverage.
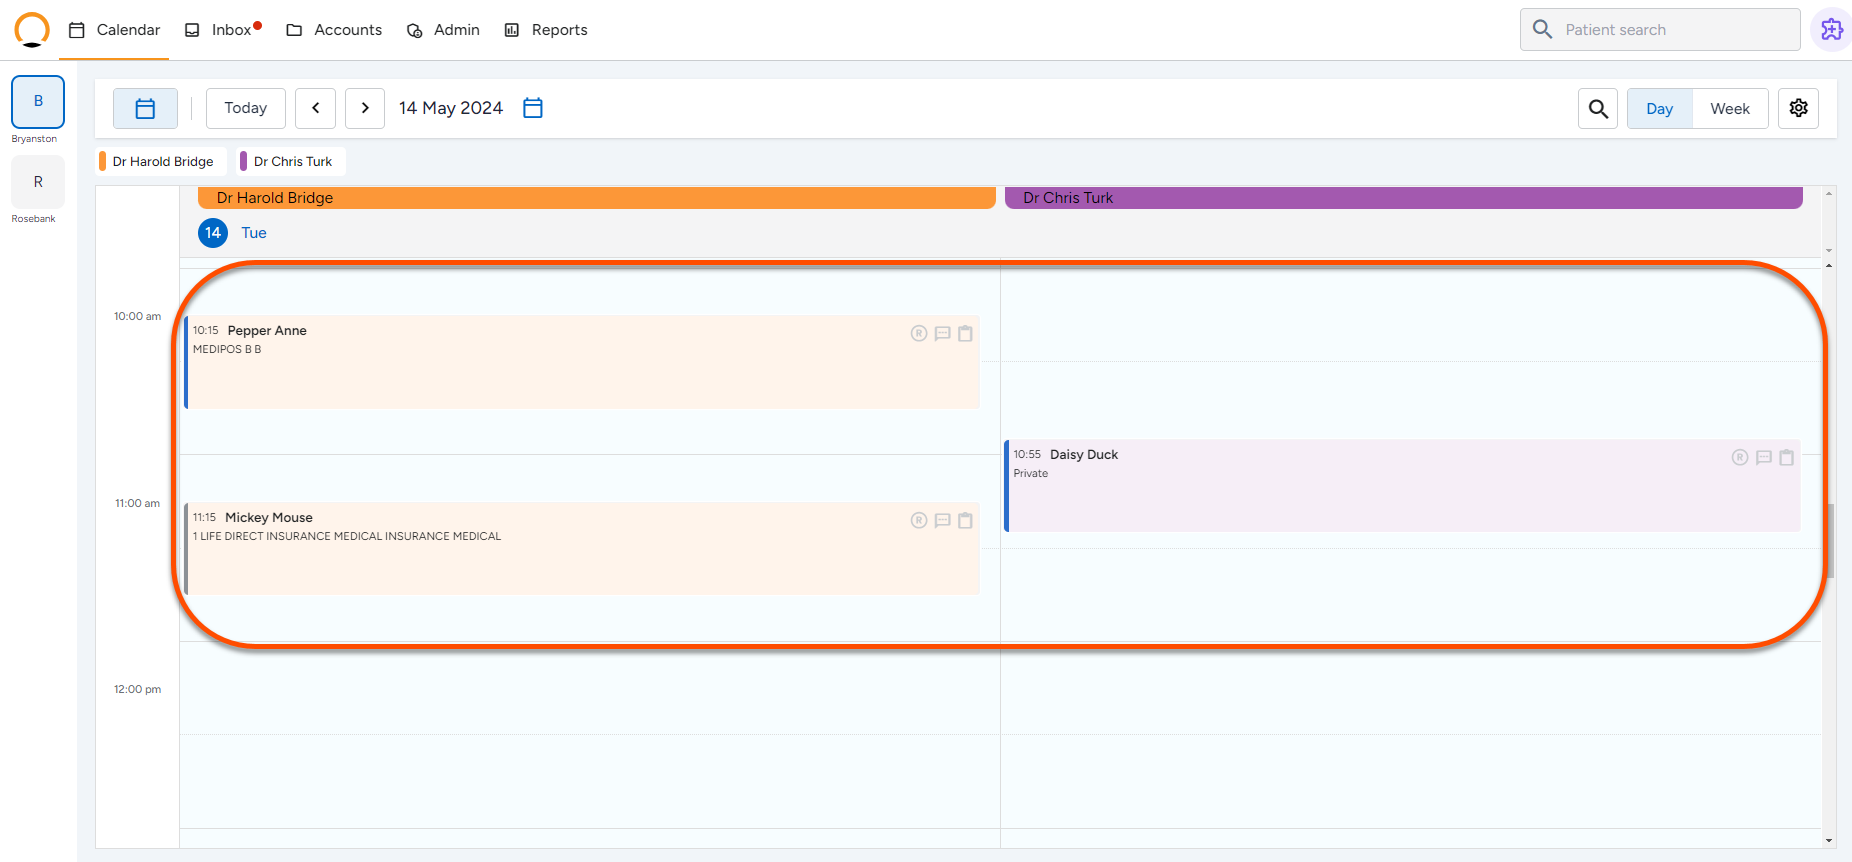
Step 8: Save and Confirm the Appointment
- Click ‘Save’ to finalize the appointment.
- The appointment will now appear on the calendar.
Step 9: Manage Check-In and Waiting Room (On Appointment Day)
- On the day of the appointment, mark the patient as ‘Checked-In’ from:
- The Calendar
- The Waiting Room
Step 10: Changing the colour of an appointment
- Once an appointment has been booked the user can further define or add personalisation by adjusting the colour of the appoitment.
- Select the appoint that requires the colour change.
- Click on the colour selection block in the top right hand corner.
- Select the required colour and the setting will take effect.
- this colour change will also carry through to the waiting room as the patients are checked in.

The appointment is now successfully scheduled in Healthbridge Nova!
To watch a video on how to add an appointment click on 'Play' below.